Friday, January 18, 2013

DIY: Large Cupcake!

Instructions:
  1. Cut out two circles.  One will be the base.  The second one should be about 1 to 2 inches larger in diameter and will be used as the top of the shape.  If you think of the shape a cupcake liner would make, you have a section from a cone with a larger circle at the top and the smaller at the bottom.
  2. Then cut out a whole bunch of strips of cardboard. Anything wider than 1 inch would probably be a pain to work with, so don’t go larger than that.  The height of the strip will determine how high your cup will be.  We used pieces that were around 5 inches long.
  3. The strips will be the sides that connect the two round pieces together.  This seemed easier when a glob of hot glue was placed on the smaller circle’s edge and then a few strips are placed along the edge at an angle.  Remember it will have to go from a smaller diameter to a larger one but don’t be too concerned about getting the angle exact.
  4. Once the edge of the small circle is covered, take the larger circle and place it inside of the strips.  Fiddle around with it to make sure it is fairly center and level in relation to the smaller circle it is suspended above.
  5. Glue each strip to the second circle.  That is your basic shape and will help keep everything together.
  6. For the outside, use white wrapping paper that will measure out to be about twice the diameter of the larger circle (ex: if the outside rim measures 10 inches all the way around you want to use about 20 inches wrapping paper).  It is always a good thing to add a few extra inches just in case.
  7. Our cupcake liner was made by taking the piece of wrapping paper and folding it three times (along the dotted lines in the little diagram below).  This gave an inch of extra paper above the inside cardboard base.
  8. Take the narrow piece of wrapping paper and fold like a fan.  The smaller the distance between the folds the more you will make and the smaller the creases will be on your giant cupcake liner.  The larger the distance the less folds but the larger the creases will be.
  9. When the whole piece of paper is folded open it up and make a circle.  Take the cardboard base and make sure it fits inside.  Not too lose but you also don’t want it too tight because that will just make it more difficult for you.  Trim and glue or tape the two ends of the fan after you have found the fit.
  10. Place the cardboard base inside the wrapping paper. Make sure the creases are evenly spaced (they won’t just do this on their own unfortunately).  Then start gluing the paper to the cardboard so it won’t fall apart if you need to move it.
  11. The bow on the front of our cupcake does not go all the way around.  If you try you’ll notice the shape will force it to an angle.  If you have a solution for this other than ours go for it.  We simply started in the middle of our cupcake and worked back until the angle of the ribbon was too drastic then made a nice cut.  At this point it was far enough back that you can’t tell.  You will need to do this twice for each side of the knot.
  12. The frosting topping was made by using scrap/left over/damaged pieces of wrap film and tissue and then wrapped it with a piece of wrap film.  The shape was sculpted at this step with tape so that it had a more domed look.  Squish it and pinch it, whatever you can to make it into the shape you think it should be.
  13. Then cover that shape with the colour you want the icing to be.  **Keep checking to make sure this piece fits into the cupcake liner you just built for yourself.  If it is too small you can twist some similar coloured tissue to place around the bottom but you can’t easily fix it if it is too large.
  14. Glue both pieces together and place a cute bow on top.

Friday, December 21, 2012

How to make those Peanut Butter Chocolate Cupcakes!

Here are the instructions for how to make the cupcakes we told you about in the last post:

You'll need: Your gifted cone bag, eggs, water, vegetable oil, peanut butter, chocolate icing and water

1. Empty mix into medium mixing bowl. 


2. Add 2 eggs, 1/2 cup water & 4 tbsp. of vegetable oil. 


3. Blend well until smooth. 


4. Pour into greased muffin tins. 


5. Bake at 350 degrees for 15-20 minutes. Remove and let cool.

Peanut Butter Glaze (topping):
1. Mix 1 cup of chocolate icing, 2 tbsp of peanut butter and 3 tsp of water. 
2. Spread over cupcakes. 
3. Enjoy!

Thursday, December 20, 2012

Just Wrap It: Peanut Butter Chocolate Cupcakes

This week is "Just Wrap It" week where we're excited to bring you a taste of the sorts of recipes you'll find in Just Wrap It - D.I.Y. gift mixes from your kitchen. We'll give you directions on how to package the gift mix to give away for the holidays. You'll be giving the gift of a mix from your very own kitchen! So feel free to mix it up and add ingredients you like! All of the packaging you'll need for these gifts can be found at Creative Packaging!

Here's our recipe for Peanut Butter Chocolate Cupcakes!

You'll need: A tall glass, a cone bag, chocolate cupcake mix, Reese's Pieces candies, a rubberband, a ribbon and a tag. 


1. Set the cone bag upright as shown in a tall glass (**Tip: Blow in the bag to reduce static and make it stand up). 


2. Add 2 cups of cake mix to bag. 


3. Top the cake mix with the Reese's Pieces candies. 


4. Tie the bag off with a colorful rubberband. 


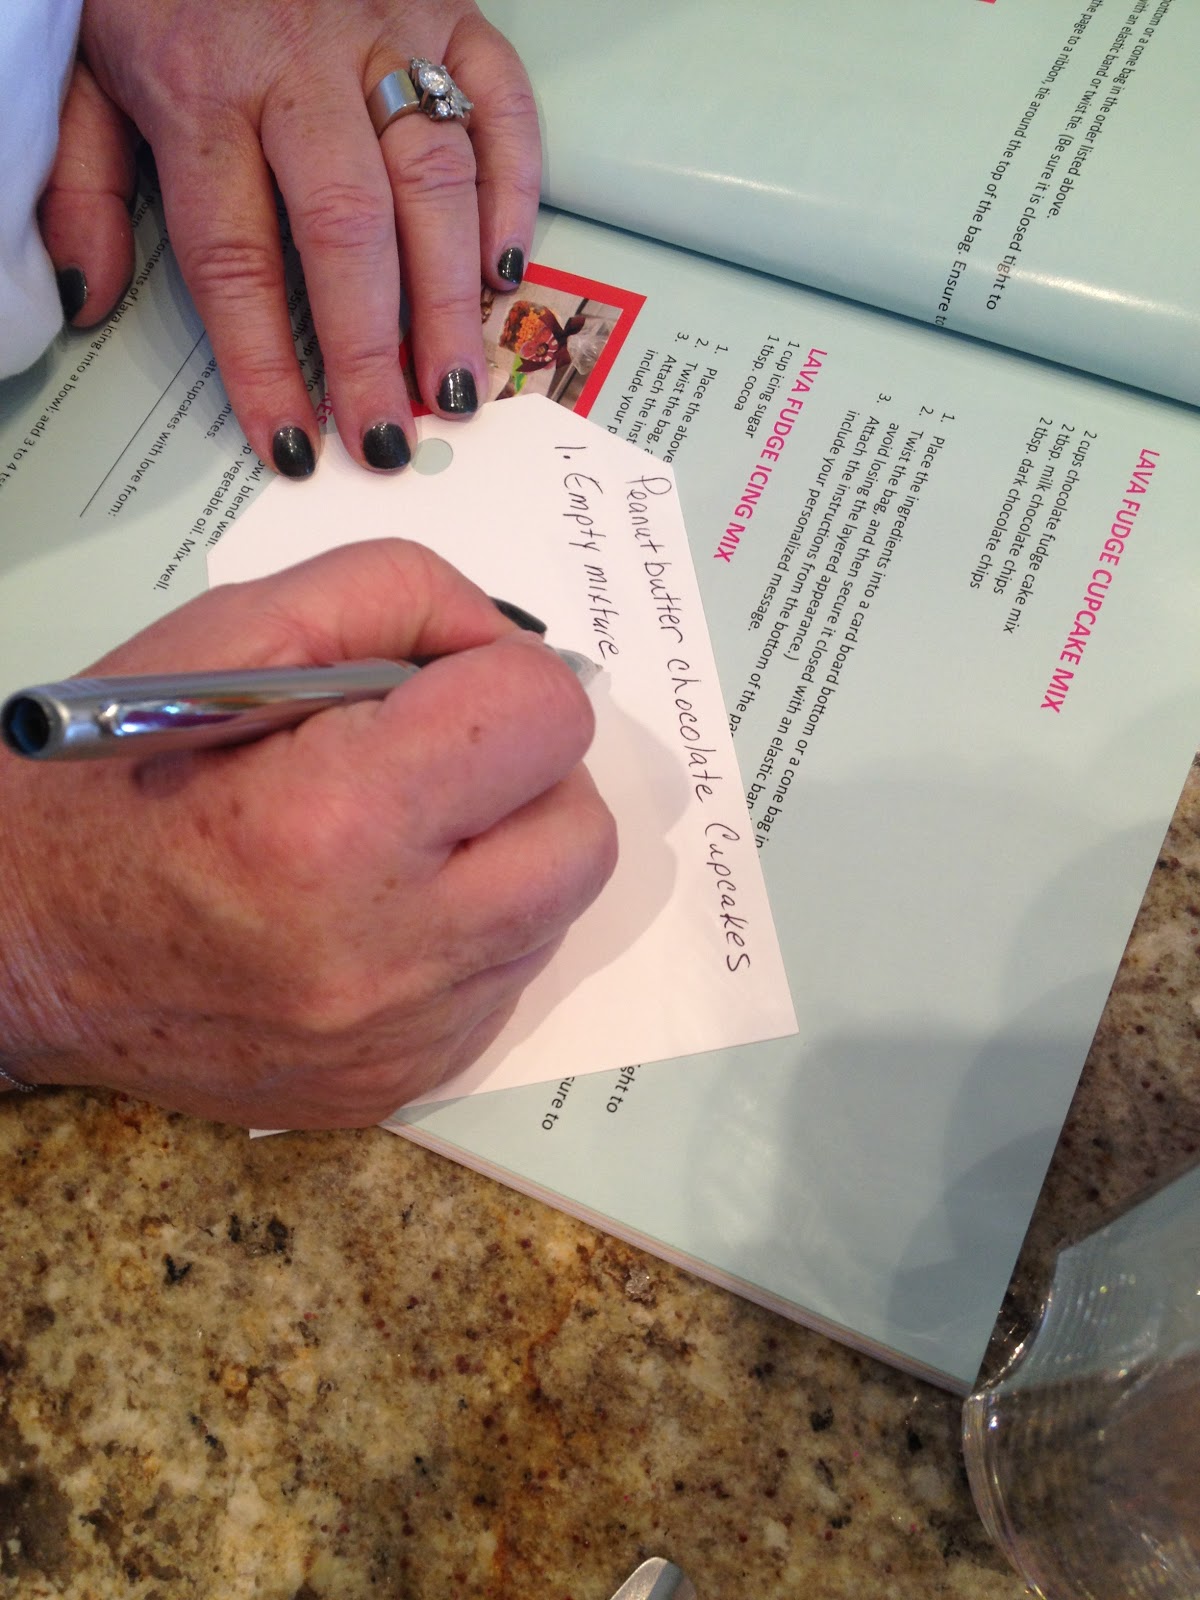
5. Write a tag with the following instructions for baking the cupcakes and a message: 

- Empty mix into medium mixing bowl. 
- Add 2 eggs, 1/2 cup water & 4 tbsp. of vegetable oil
- Pour into greased muffin tins
- Bake at 350 degrees for 15-20 minutes

Enjoy with love from:
(Your name here)______________


6. Attach tag to the cone with a ribbon and an accessory and give as a gift!


Coming up next: We show you how to make the cupcakes!

Wednesday, December 19, 2012

Just Wrap It: Amazing Chicken Rub!


This week is "Just Wrap It" week where we're excited to bring you a taste of the sorts of recipes you'll find in Just Wrap It - D.I.Y. gift mixes from your kitchen. We'll give you directions on how to package the gift mix to give away for the holidays. You'll be giving the gift of a mix from your very own kitchen! So feel free to mix it up and add ingredients you like! All of the packaging you'll need for these gifts can be found at Creative Packaging!

Here's the recipe for Amazing Chicken Rub!

You'll need: A small plastic, clear jar, ribbon, a tag, 1 tbsp Mrs. Dash seasoning, 1/8 tbsp salt, 1 tsp sugar, 1 tsp garlic powder (you can do this with any combination of seasonings/rub mix you like)

1. Combine ingredients in a bowl. Mix well.


2. Pour into small plastic jar. Replace lid and tighten.


3. Write tag with the instructions for how to use and message. Here's our recommended instructions:

1. Rub ½ mixture over 1 lb. of meat and ensure both sides of meat are covered.
2. Place meat in a re-sealable bag, let stand 3-5 hours.
3. Grill as desired.

Enjoy this spicy rub love from:
(Your name here)________________________

4. Attach to your jar and give as a gift!

Tuesday, December 18, 2012

Just Wrap It: Jelly Bean Cookies!

This week is "Just Wrap It" week where we're excited to bring you a taste of the sorts of recipes you'll find in Just Wrap It - D.I.Y. gift mixes from your kitchen. We'll give you directions on how to package the gift mix to give away for the holidays. You'll be giving the gift of a mix from your very own kitchen! So feel free to mix it up and add ingredients you like! All of the packaging you'll need for these gifts can be found at Creative Packaging!

Here's our recipe for Jelly Bean Cookies! Great gift/recipe to do with your little ones!

You'll need: A cardboard-bottom bag, ribbon, a tag, 2/3 cup of jelly beans and 2 cups of your choice of funfetti or white cake mix!


1. Scoop 2 cups of cake mix into a cardboard-bottom bag.


2. On top of the cake mix, add your jelly beans.


3. Twist the plastic around the top of the mix.

4. Tie a ribbon in a bow around the twisted plastic.


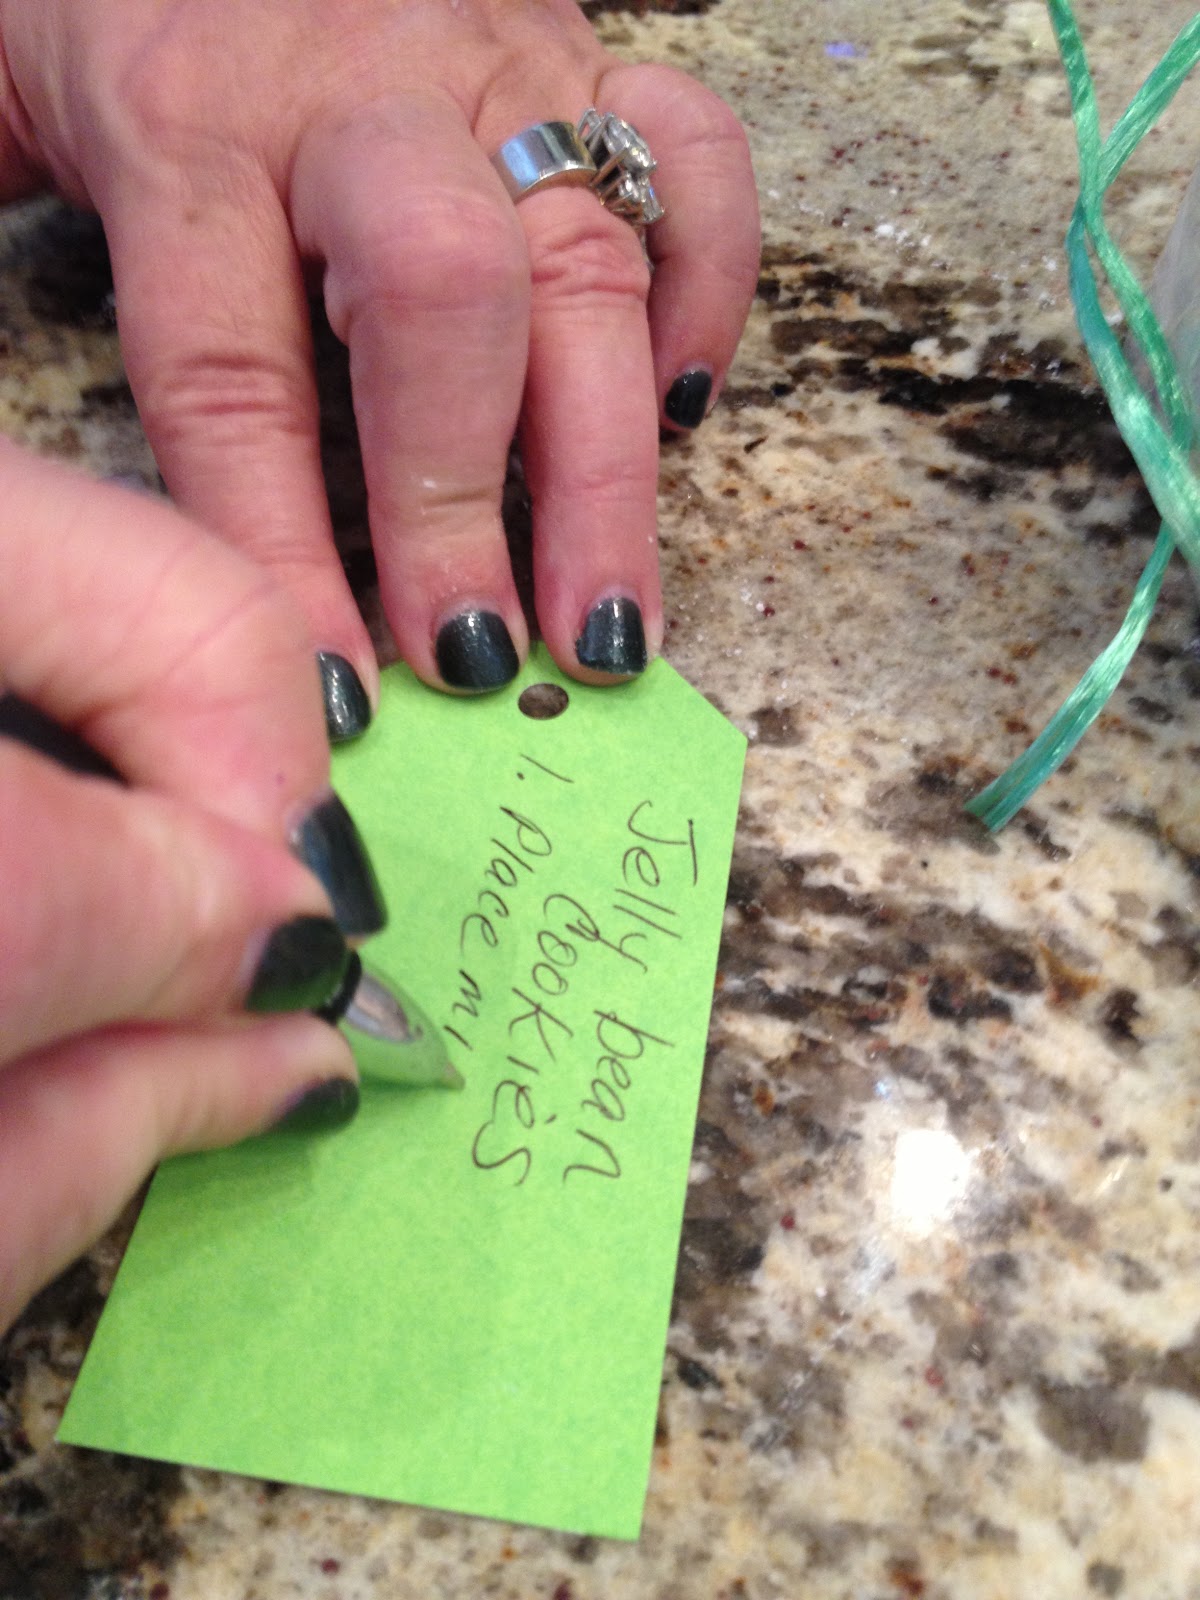
5. Write the recipe  for the cookies and a personal message on a large tag. Here's the recipe to write on the tag:


1. Empty this mix into a medium mixing bowl. Mix well.
2. Add 4 tbsp of vegetable oil and 2 eggs. Mix well until cake batter is not lumpy.
3. Drop cookies by tablespoon 2 inches apart on a greased cookie sheet.
4. Bake at 350 degrees for 12-14 minutes until golden brown.
5. Cool 3 to 5 minutes on a baking sheet. Cookies will firm when cooled.

Cool and enjoy these yummy treats with love from:
(Your Name Here)_________________________

Makes 2 dozen cookies.


6. Attach the tag to your package and give as a gift!


Monday, December 17, 2012

Just Wrap It: Happy Trails Mix!

This week is "Just Wrap It" week where we're excited to bring you a taste of the sorts of recipes you'll find in Just Wrap It - D.I.Y. gift mixes from your kitchen. We'll give you directions on how to package the gift mix to give away for the holidays. You'll be giving the gift of a mix from your very own kitchen! So feel free to mix it up and add ingredients you like! All of the packaging you'll need for these gifts can be found at Creative Packaging!

Here's our Happy Trails Mix!

You'll need: A cardboard-bottom bag, ribbon, a tag, a pen, a mixing bowl, and all of your favorite trail mix ingredients (i.e. cereal, candy, pretzels, Chex Mix, gold fish, Cheezits, etc.)


1. Mix all of your trail mix ingredients together in a large mixing bowl.


2. Scoop the trail mix into your cardboard-bottom bag. Fill it about half to 3/4 of the way full.


3. Twist the plastic at the top of bag.


4. Tie a bow with ribbon around the twisted plastic.


 5. Write a tag with a personalized message.


6. Attach your tag to the ribbon on your bag.

Enjoy!

Wednesday, December 12, 2012

Creative Ribbon Challenge: #2 from Team Edmonton

We challenged our lovely ladies at Creative Packaging to come up with some creative ideas for ornaments using ribbon and accessories from our local stores. We're so excited to show you what they came up with! 

Sheena from Team Edmonton sent us another beauty! Come grab some supplies and try it today! 

You'll need: 

  • 1 roll of 2 1/2-in. satin ribbon 
  • 1 roll of 1-in. satin ribbon 
  •  Ornaments or picks of your choice 
  • A stapler 


Step 1: Cut a strip (of whatever length you like) of 2.5 inch satin ribbon of one color. Lay your chose ornament long ways along the strip of ribbon as shown. Carefully staple the ornament string to the ribbon to hold them in place. 


Step 2: Cut smaller strip of (different-colored) 1-inch ribbon. Tie snugly in bows around where you stapled the ornament strings to hide the staples and secure the ornaments as shown.


Step 3: Hang them long ways on your tree. Do multiple strips for a very elegant effect!